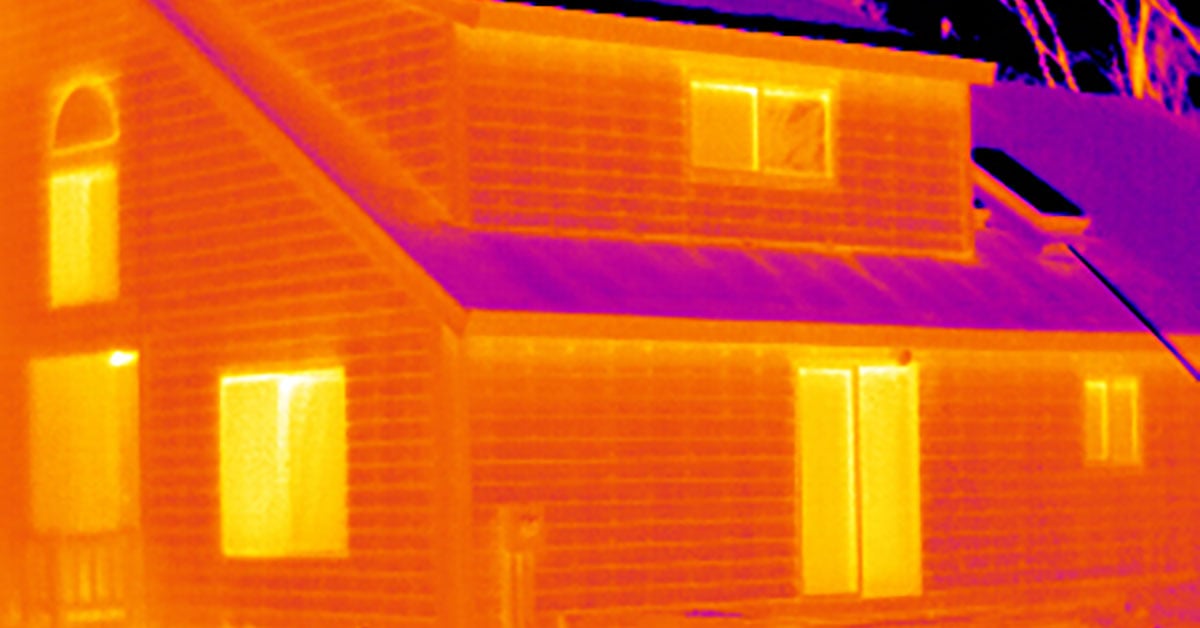
Tracking Down Hidden Problems During Home Inspections with Thermal Imaging
Maintaining any home requires regular inspections beyond what we see on the surface. Thankfully, thermal cameras give us the ability to see much than we would with our naked eye. Knowing what to look for can save precious time for inspectors and stop problems from ever happening; problems like pests hiding in walls, air leaks causing drafts, or electric systems overheating. Let’s go over these three possible issues and how you can spot them with your thermal camera.
Finding Pests
Thermal imaging is one of the least destructive ways you can conduct a pest inspection. While you shouldn’t expect to see them actively running around, things like rodent’s nests often generate enough heat over time that they start to warm up the outer wall. Two more identifiers we can use are missing insulation and holes in walls that indicate entry points. Rodents will often move insulation around to make room for themselves, creating cold spots in a home.

Rat's nest viewed under thermal.
Termites can be found in a similar manner to rodents but leave slightly different marks. They often create irregular heat patterns on the surface of walls, ceiling, and floors from releasing carbon dioxide from their digestive system. Inspectors can also look for irregular moisture spots on walls caused by termites constructing mud tubes.
Larger pests like rodents should generate enough heat to be easily picked up by an entry level camera like the FLIR ONE Pro. Smaller pests, such as termites and wood-boring beetles, may require a higher resolution camera like the FLIR Cx-Series,Ex-Series, or Exx-Series cameras. In some cases, it may be worth making a small hole in a wall to get a good look at a potential rat’s nest or beehive. A pest control professional armed with a thermal videoscope such as the FLIR VS290-21 can take infrared photos or videos of what’s hiding inside the walls without the need for added light.
Many FLIR thermal imaging cameras, like the ones mentioned above, now offer automatic connection to the FLIR IgniteTM cloud, which is a convenient location to store, organize, and share images, as well as produce quick reports that showcase repairs needed and repairs made. From Ignite, you can download and transfer images to FLIR Thermal Studio Suite. This state-of-the-art analysis and reporting software suite offers batch processing, thermal image analysis, custom reporting, and even leak-rate cost analysis for acoustic images.
Thermal Studio Pro has the added advantage of FLIR Route Creator with Reference Imaging which helps users organize efficient inspections that include reference images at each inspection point to ensure you collect comparable, historical data at each asset.

The FLIR E96
Air Leaks
Let’s move on to air leaks now and find out what’s causing drafts in the home. There is one thing you should know before conducting an air leak inspection though: there should be at least a 10°C (18°F) difference between inside and outside temperatures. To make this easier, we recommend starting an inspection in the morning before the sun warms up the house. Once you’ve ensured the temperature difference, we can start looking around some of the common culprits. Doors, windows, exterior outlets, and ducts are all great starting points. Inspecting them with a thermal camera such as the FLIR C5 or E8-XT will easily highlight anywhere outside air is seeping in. Exterior doors don’t always make a great seal between the home and the outside; check and add door sweeps to any that are letting warm air escape through the bottom.
The FLIR C5
Missing insulation tends to be a common culprit of air leaks as well. Areas you’ll want to check are attics, walls, floors, foundations, crawl spaces, and ducts. Insulation gaps can often be created during renovations, whether its from contractors drilling holes or just moving insulation around. If your client just completed a home renovation, it may be a good time to check for any cold spots. Here, again, a FLIR VS290-21 or VS290-33 might be helpful as the extended probes—up to 2 meters (6.5 feet) in length—can reach into crawl spaces or up into attics that might be harder for you to access. The basement is also a prime area to check since foundations often go uninsulated. Lastly, attic doors are often left unsealed and create drafts between the home and its roof. A quick look with a thermal camera should make it easy to determine if the door requires a cover to prevent air flow.

Missing insulation
Electrical Problems
Now that we’ve covered pests and air leaks, lets go over some common electric problems. Power systems can often seem fine at first glance, but thermal cameras allow us a first look as problems arise. A thermal inspection of the breaker box, outlets, electronics, thermostat, and any other electric systems should help identify loose power connections. These issues can cause circuits to generate much more heat than they normally should, making them easily identifiable with thermal. Connections expanding and contracting from heat and external vibrations from heavy equipment operating nearby are both possible reasons for loose electric connections. You may also want to do a quick thermal inspection if you notice discoloration around and electric system or notice any abnormal odors that could be burning material.
Using thermal imaging, we can non-destructively inspect our surroundings and check for pests, air leaks, or loose electric connections. These fixes can often mean a lower energy bill but may even save your clients from a potential disaster down the road.


